
 March 19, 2025 12:00 pm
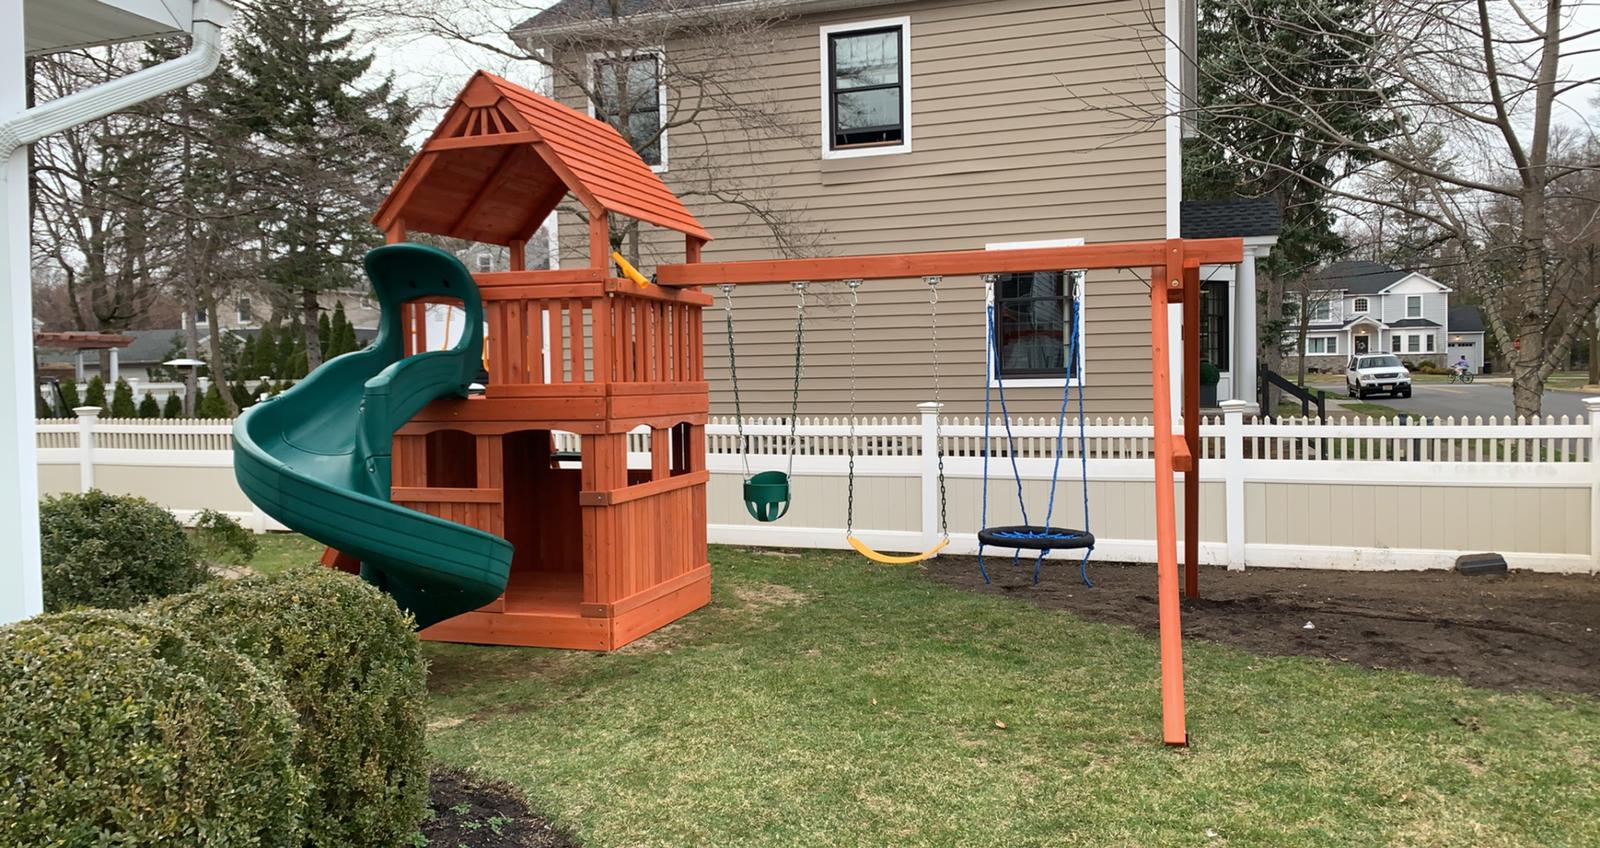
Creating a backyard playground is an exciting investment in your child’s health, development, and imagination. But the real foundation for safe, long-lasting fun starts before the swing set goes up—it begins with proper planning, ground preparation, and most importantly, accurate leveling. In this guide, we’ll walk you through everything you need to know to confidently install your backyard playground, with a spotlight on leveling blocks, the essential product for ensuring a level, rot-resistant, and secure foundation.
Step 1: Choose the Right Location
Your playground’s performance, safety, and lifespan depend heavily on where you install it. Keep these key factors in mind:
- Flat or gently sloped terrain – minimizes leveling work
- Soft, natural surfaces – ideal for play and easier to modify
- Visibility from the house – for easy supervision
- Shaded spots – keep playtime cooler in the summer
- Distance from hazards – avoid fences, trees, or driveways
Choose a location that combines convenience with safety—and don’t forget to check for underground utility lines before digging.
Step 2: Prepare the Ground
A clean slate makes for a smooth installation. Start by:
- Clearing debris, rocks, and weeds from the selected area
- Mowing grass short to expose uneven areas
- Marking out the playset footprint with stakes and string
Once you have a clear view, you’ll better understand the leveling requirements.
Step 3: Leveling the Play Area
Leveling is one of the most important steps—and the one that will make or break the long-term performance of your playground. Here’s how:
Manual Leveling Methods:
- Digging high spots and using topsoil or sand to fill low spots
- Tamping soil down to create a firm base
- Using string levels or laser levels for accuracy
But here’s where things get much easier—and smarter…
Step 4: Use Leveling Blocks for Fast, Professional-Level Results
Leveling blocks are a game-changer when it comes to leveling your swing set or playset. These polypropylene or composite blocks are designed to be placed under swing set bases to create a stable, moisture-resistant platform, especially on uneven terrain.
Benefits of Using Leveling Blocks:
- Instant leveling without major digging
- Moisture protection prevents wood rot from ground contact
- Prevents settling and shifting over time
- Easy to use for DIY or pro installations
- Reusable and long-lasting
Simply position the leveling blocks under the key contact points of your playset base or legs, stack them as needed to match the grade, and you’ve got a secure, level surface ready for installation.
Step 5: Assemble the Playground Equipment
Follow your manufacturer’s instructions closely. A few tips for this stage:
- Lay out all components and hardware before beginning
- Use power tools safely and only when recommended
- Work with a second person for heavy lifting or stability
- Double-check all bolts and fasteners
- Anchor the structure securely with ground stakes or anchors
Reminder: Leveling should be re-checked after assembly, especially before anchoring.
Step 6: Final Safety Inspection & Ongoing Maintenance
Before the first swing:
- Check all bolts and connections
- Test movement of swings and slides
- Inspect all surfaces for splinters or sharp edges
- Verify the structure is stable and doesn’t shift when pushed
Ongoing Maintenance Tips:
- Inspect bolts and hardware monthly
- Rake and replenish surfacing (mulch/turf) as needed
- Clean and dry components after rain or snow
- Re-level and adjust leveling blocks if shifting occurs
Conclusion: Build It Right, Enjoy It Longer
Installing a backyard playground is one of the most rewarding home improvement projects you can do for your kids—but it starts with getting the basics right. Leveling your playset properly not only keeps your children safer, but also preserves your investment for years to come.
By using leveling blocks, you simplify the process, protect your swing set from damage, and create a strong foundation that supports every jump, swing, and climb.
Categorized in: Blog